
What Our Customers Are Saying…
January 3, 2020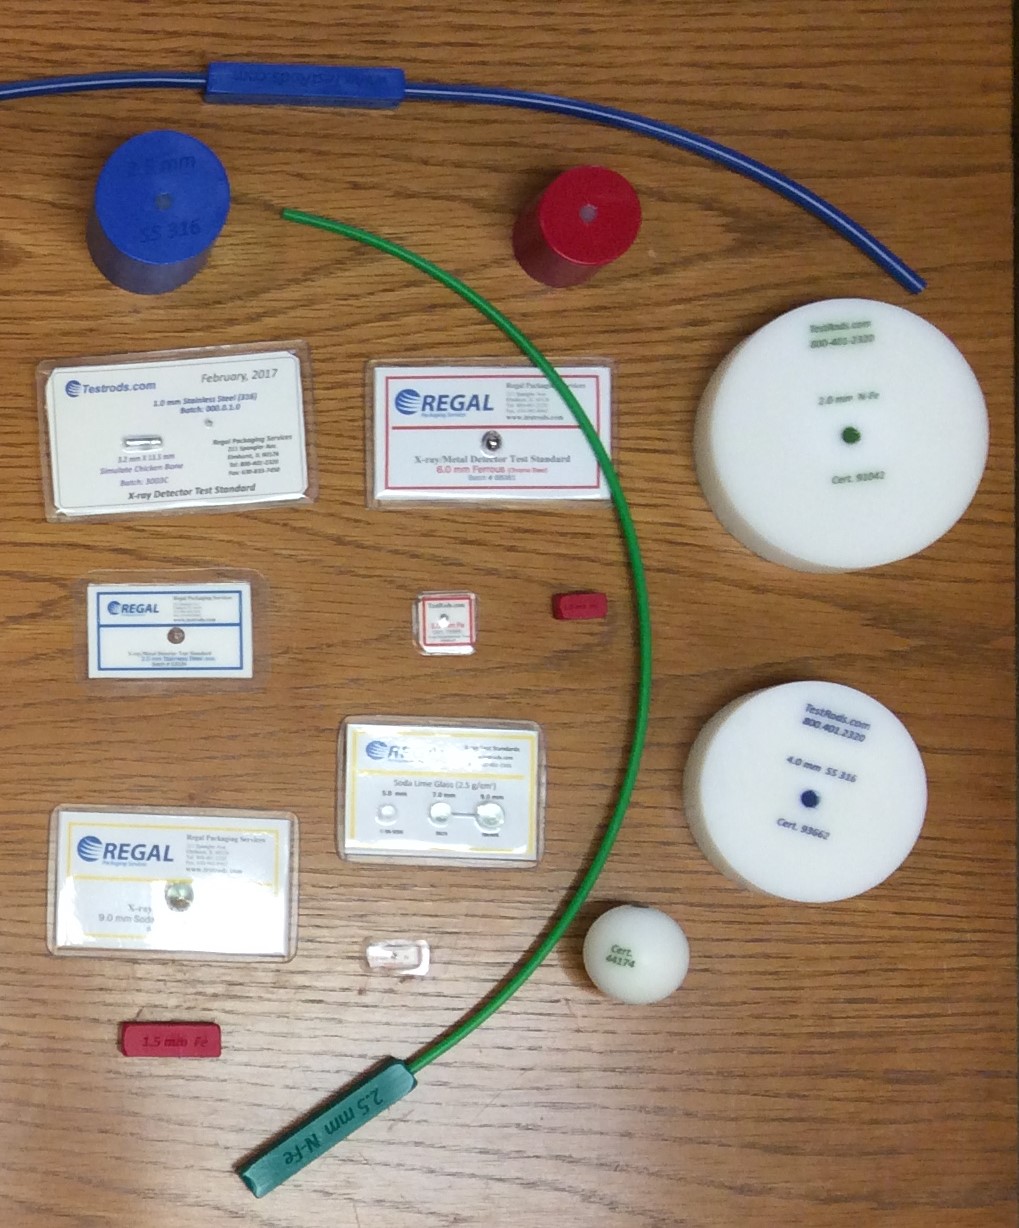
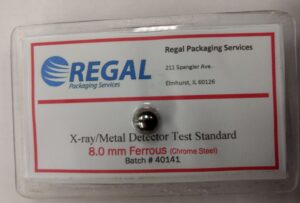
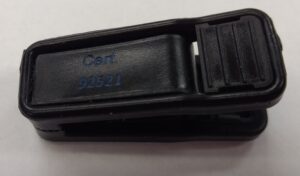
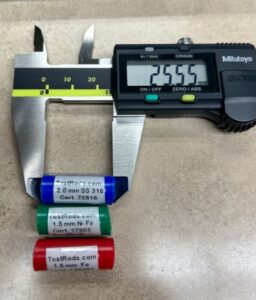
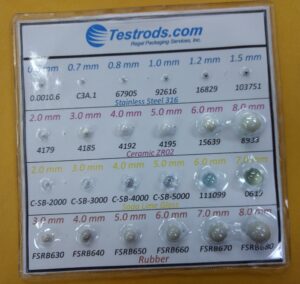
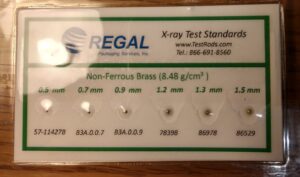
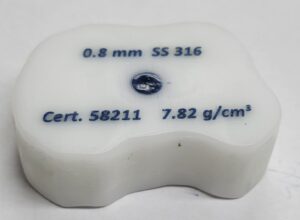
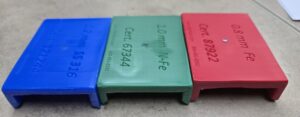
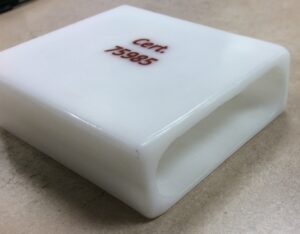
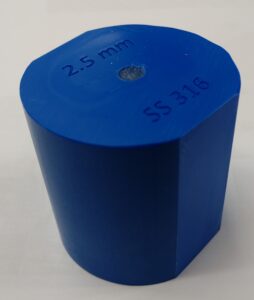
Custom Test Pieces
October 19, 2020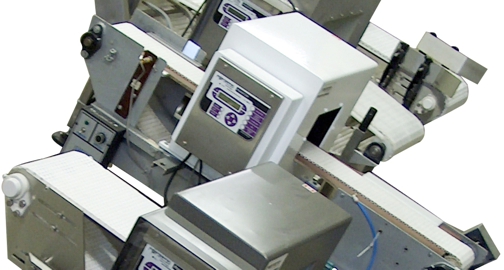
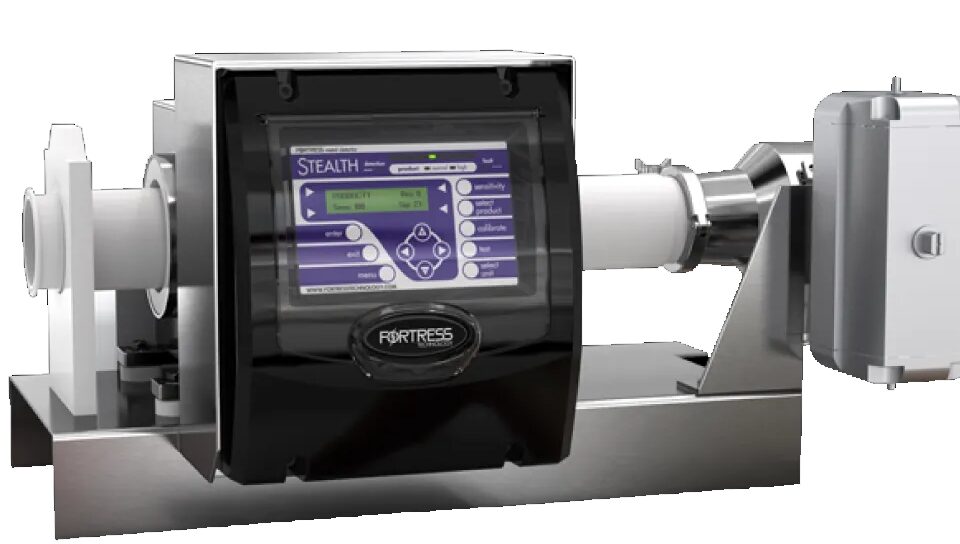
GETTING DOWN TO THE BASICS – An overview of metal detection basics
The Coils
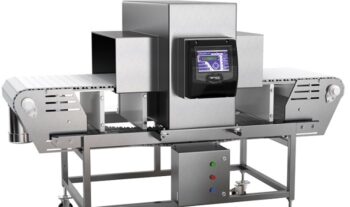
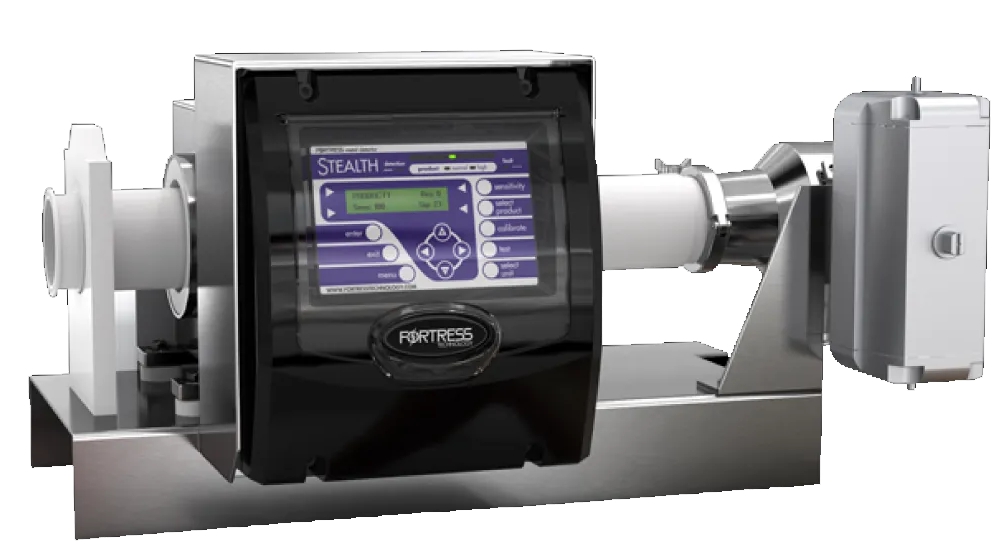
Metal detectors used in the food industry operate on the concept of a balanced coil, full loop system. So let’s review some metal detection basics.
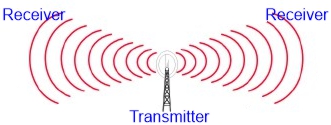
For the detector to function, three coils are wound around the aperture (the opening) which the product passes through. It should be noted that the transmitting coil, in the center, broadcasts a radio frequency signal, generating an electromagnetic field.
Then, equally spaced on either side of the transmitter coil (inside the metal detector head) are two receiver coils.
The Field
The field is generally trapped inside the shielded enclosure of the detector. But some field escapes from the aperture on both sides of the detector. Anything Magnetic or Electrically Conductive that enters the field will cause a disturbance in the field strength around it. Of course, all metals have either one or both of these characteristics. And this will be detectable if the size of the signal is large enough.
The signals from the receiving coils are connected in opposition to each other. Therefore, when no disturbance is occurring there will be a net signal of zero across the coils – they are balanced. This, then, forms the electrical equivalent of a balanced weigh scale.
As metal contaminant passes through the aperture, the balance will be offset. This disturbance is amplified and analyzed by the control electronics and detection occurs if the sensitivity threshold has been exceeded.
Best Practices
But what is the recommended usage? What are the best practices for installation and the latest features? Which type of metal detector is right for your application?
These can be complex questions. Regal Packaging Services has the answer to these and many more in depth questions regarding metal detection technology. Call us at (630) 942-8461. With decades of experience, we can help you understand Metal Detection Basics.
Testing Metal Detectors
For any quality control/HACCP (Hazard Analysis & Critical Control Points) planto be successful, regular testing must be done. And this is true no matter how complex or reliable a metal detection system may claim to be. Alongside this, It is crucial that a systematic recording procedure be established. This is especially true since there are no industry standards for detector testing and validation. Each company must determine its own assessment criteria.
Consider the following when writing or altering your HACCP plan:
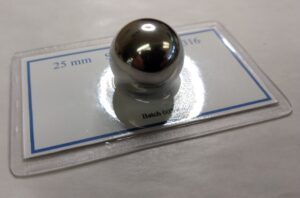
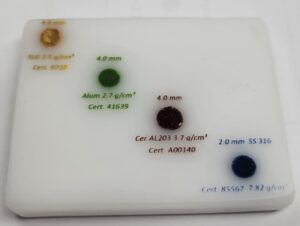
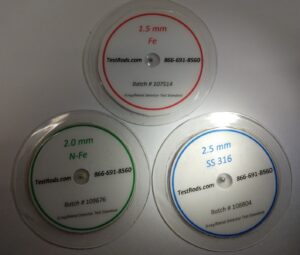
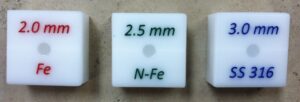
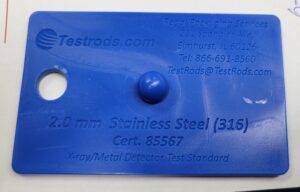
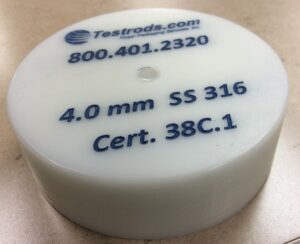
1) Test Standard
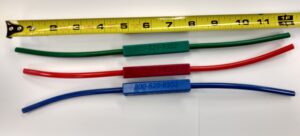
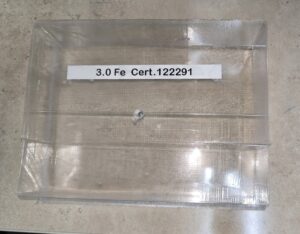
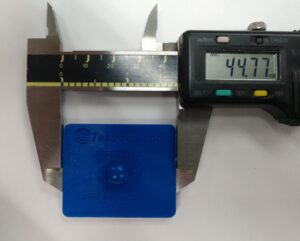
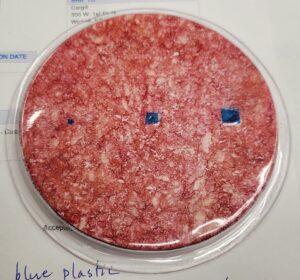
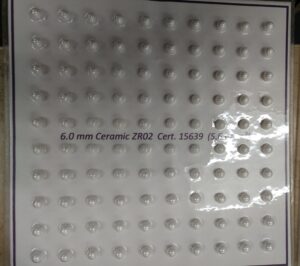
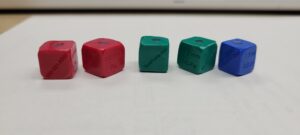
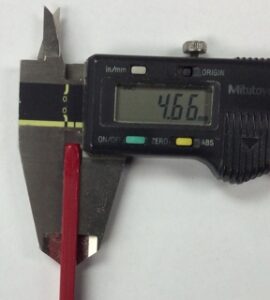
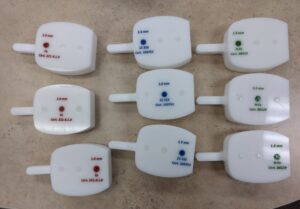
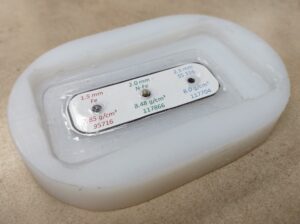
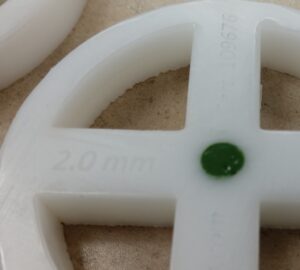
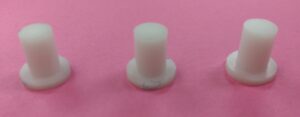
Traditionally, metal detectors have been checked with ferrous, non-ferrous, and stainless steel test samples. The type of test piece used will vary depending upon the product and application. In addition to a variety of card types, a ¾”x¼” puck to a 20 “whip” may be used as well. These are just a sample of the many options. See a full listing here. Some applications will require a custom test piece. Regal Packaging Services has custom designed and manufactured a broad array of test pieces, including a 24 ft “rope,” 6 ft testrods, ½” “top hats” and 1”x5” cylinders.
Also, when it comes to metal detection basics, the size of the metal (seed/standard) sample must be clearly established. This is true so it can consistently be detected inside the product passing through the centerline of the detector. This is the least sensitive and ideal point. Placing a test piece on top of or underneath the product moves it closer to the aperture, making it easier to detect. Testing should always be done as close to the center of the aperture as possible. If validation is proven here, it can be safely defined as happening in all other parts of the aperture.
2) The Application
The application for each company and product will be different, so the samples should be adapted to each detector. If the seed (metal) is too small, it will produce unnecessary failures and an unwanted level of frustration level for the operators on the line. When the seed is too large, it will not accurately test the operation of the detector. Using a range of metal sizes, confirm a repeatable performance level.
Typical guidelines for sensitivity:
Aperture Height Dry Product Wet Product
Ferrous & Non Ferrous Ferrous Non Ferrous
50 – 124mm 1 mm 1.5mm 2.mm
125- 199mm 1.5mm 2 mm 2.5mm
200 mm and up 2 mm 2.5mm 3.mm
3) Test Frequency
The quality control tame needs to determine the frequency of testing the metal detector. Ordinarily, detectors are checked at:
-
- Shift Change
- Product Change, and
- Hourly or other interval
There is a clear tradeoff exists between the cost of testing versus the risk of a detector failure. A company opens itself to litigation, ROI and sales loss, not to mention the danger to the end-customer. An automatic system can boost the regularity of detector performance testing without additional cost.
4) Test Procedure
The method of testing should be as simple as possible, however it must take into consideration that test pieces and procedures:
a) Should move through as close to the centerline of the aperture as possible. This is the least sensitive point. If the test is successful at this point, it should be safe at any other point in the aperture.
b) Need to be positioned within the product when possible.
c) Ought to include the action of the reject mechanism so that the entire system is checked. This can include testing (documented):
-
- With the test piece at the leading, middle and trailing edges
- Sequential packages or product
- Alternate packages
5) Test Records
The format for documentation (.docx, .xlsx, .pdf or even handwritten) is not critical, however it should be easily accessible to an auditor and include:
a) Production line or detector identification
b) Date and time
c) Sample used , including metal size, type and certificate number.
d) Identification of the operator
e) Pass or fail result
f) Remedial action taken if result was a fail
6) Automatic Test Systems
Automatic Testing systems are intended to complement, and in some applications replace, manual testing procedures. The effectiveness of these systems should be examined carefully to ensure the testing is relevant and feasible for the application. When installed effectively, they can offer significant savings through reduced labor and product waste.
Sources of Interference
The location, including all environmental conditions, may influence the performance of the Metal Detector. There can be a significant challenge where high levels of sensitivity are required. Wherever possible, the detector should be situated to avoid or minimize the effect from such considerations.
Sensitivity and performance can be altered by a number of sources:
- Electrical interference – static, radio, ground loops
- Vibration – moving metal
- Temperature variation – ovens, freezing tunnels
While the detector may be capable of filtering some of this interference through features such as “Automatic Balance.” Still, in some instances, the only option is to decrease the sensitivity level. This is a vital consideration when comparing the capabilities of metal detection systems.
See also:


