
Commitment to Food Safety
January 10, 2019
Why Regal Considers Customer Service Critical
April 24, 2019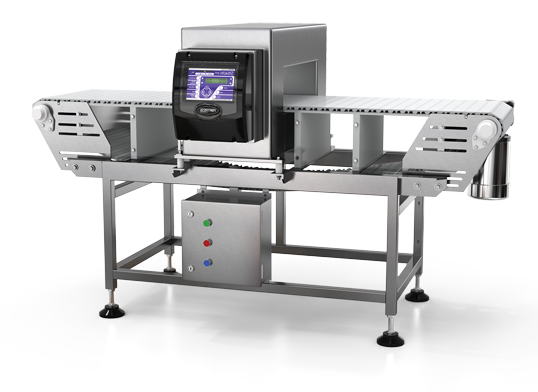
Metal Detector Setup
Critical Limit
When it comes to setting your standards, how do you set the Critical Limits?
As defined by the FDA, Critical Limit is “A maximum and/or minimum value to which a biological, chemical or physical parameter must be controlled.” This happens at any given CCP (Critical Control Point). This will prevent, eliminate or reduce to an acceptable level the occurrence of a food safety hazard.” So you need to be sure you know what you’re doing in a metal detector setup.
All metal detectors have their differences, but all are essentially the same when it comes to determining the CCP:
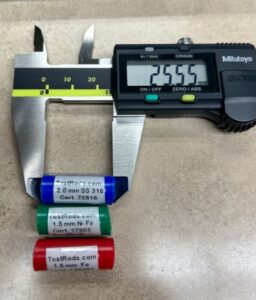
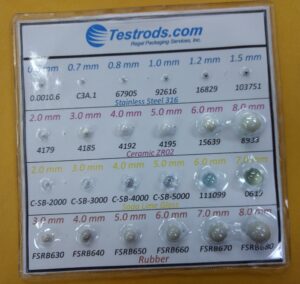
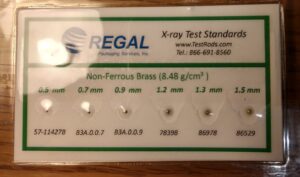
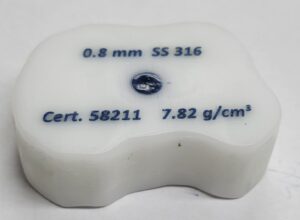
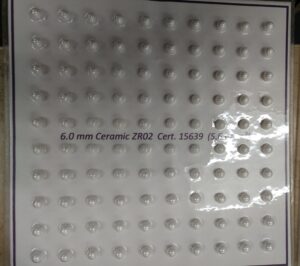
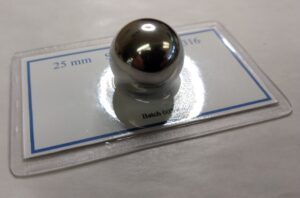
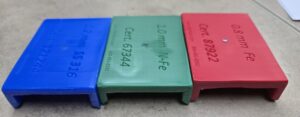
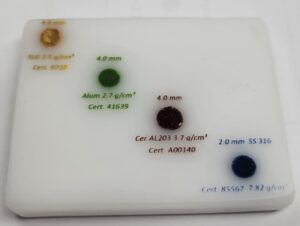
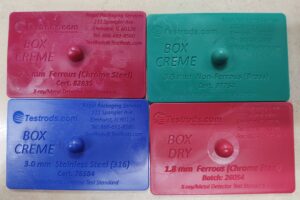
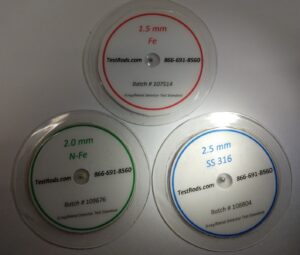
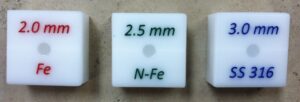
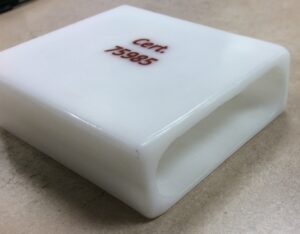
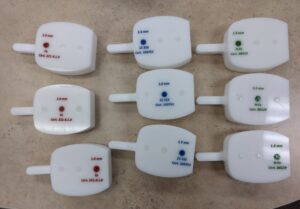
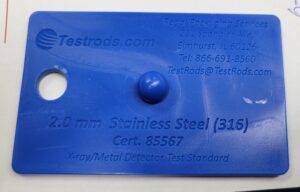
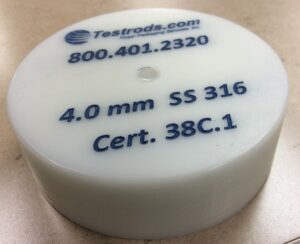
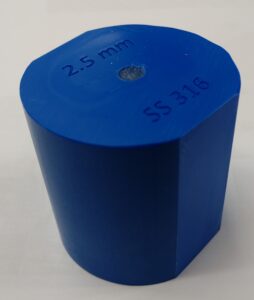
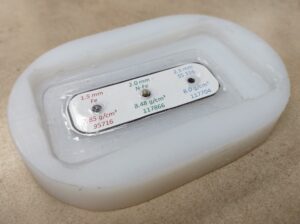
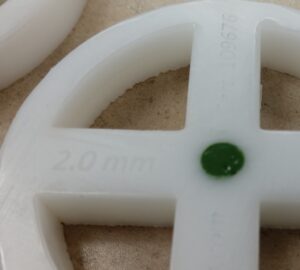
• Sensitivity, or threshold: These are the trigger points for the test sample and contaminant. So if your sensitivity is set to 1.5 Ferrous, 2.0 Non-Ferrous and 2.0 Stainless Steel 316, it should find those. Anytime one of those size contaminants or larger passes through the aperture, the detection system should reject the contaminated product.
• Phase angle/compensation: These are the settings for the product.
Calibration to Product
1) The detector should have an automatic calibration feature to follow as a starting point. During the metal detector setup, you “calibrate,” using uncontaminated product. Look at the signal created each time it passes through the aperture or is “scanned” by means of the display. This will display as a number or scale of led lights. When the product generates little or no effect, then we say the product is “tuned out.” That is, to say, the product itself will not trigger a reject. The term “calibration” is used only as it refers to the product’s relationship to the detector. For instance, when an audit is done, the auditor will not calibrate your detector. He/she will be validating that the detector is achieving the expected, HAACP defined standards.
Sensitivity
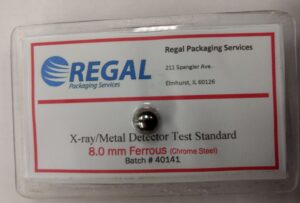
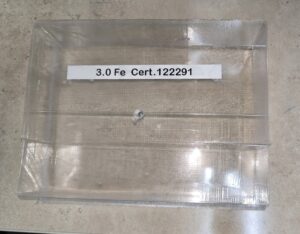
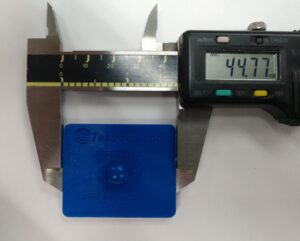
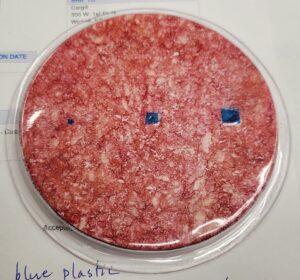
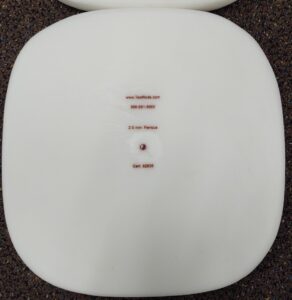
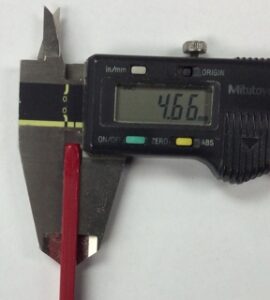
2) Second, as you continue through the metal detector setup, set the sensitivity. Pass the product through with the contaminants (often in 0.5 mm increments) to find which sample size works for the product. Do this for each type of metal. Be sure you are using Ferrous, Non-Ferrous and Stainless 316 (while use 304, 316 is the industry standard). Keep in mind that the least sensitive portion of the aperture is at the center. Test pieces should always be placed in the middle of the product when feasible. This, ideally, is the approximatel centered in the aperture. If the sample is detected there, it will be picked up anywhere else it might appear.
Repeatability
3) Next, (in this phase of the metal detector setup) you can define the repeatability of the test. Do this by watching in production to see if the product is consistent. Irregularity or change in the product effect will produce false rejects which will require further tuning. A minimum variance between the product and product plus test standards has to be feasible. This is needed in order to ensure the system does not reject good product.
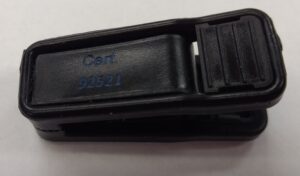
How OFTEN does a metal detector need to be tested using certified test pieces?
A metal detectors operation and performance, including detection and rejection of test samples, should be verified and documented on a regular basis, especially at the start of a product run or shift change. This regularity should be spelled out in the HAACP plan, but at minimum, should be hourly. In addition, whenever any settings are altered or updated, the testing should occur again. A minimum expectation for testing should be hourly.
Imagine, somewhere in the middle point between two verification tests, that the detector ceases to operate properly or at peak performance. When the test occurs at the hourly point and fails, ALL product from the last test will need to be put on HOLD and reworked after the equipment has been repaired or updated. Depending on the speed of your production line, this could mean a LOT of product set aside, waiting for another run, before it can be released to the market. In many cases, this may entail sending that product out for 3rd party testing. This is costly both in terms of product value and time. If you’re not releasing product to the market, you may be safe, but you’re not making money, either.
Industry standards and auditing constraints may prescribe the testing frequency and the proper procedure for testing. A company’s QA department usually defines those specifications. Ultimately, the higher the frequency of testing, the better. Should the equipment fail a testing sequence, quality control hold procedures will need to be initiated. You should know or set this criteria during the metal detector setup.
Why do you get differing results for different products?
Conductivity or magnetic effect will vary from product to product. This determines where the detector is “calibrated” at the point where the signal is not displayed or impacting the reject mechanism. Gold, silver and copper are things we typically think of as electrical conductors, but salt and water in the product will affect its magnetic properties. Since all products will have one or both of these, the product effect will require attention. Product effect can behave in similar fashion as the non-ferrous and stainless standards being used, so this needs to be taken into consideration. A cold product with liquid will behave differently than a frozen product even though both have liquid of some type. Powder will react differently than solids or what appear to be solids, like gummy bears, which appear solid, but have a high liquid content.
When a detector is installed or a “start-up” is performed is the critical time to nail down all the potential issues you may have with a metal detector: the “calibration” or limiting of product effect, sensitivity (including the electrical noise on or near the production line), the achievable standards, and the repeatability. This will also include reject timing, as a reject system improperly timed will either miss the actual product needing to be eliminated and/or rejecting good product.
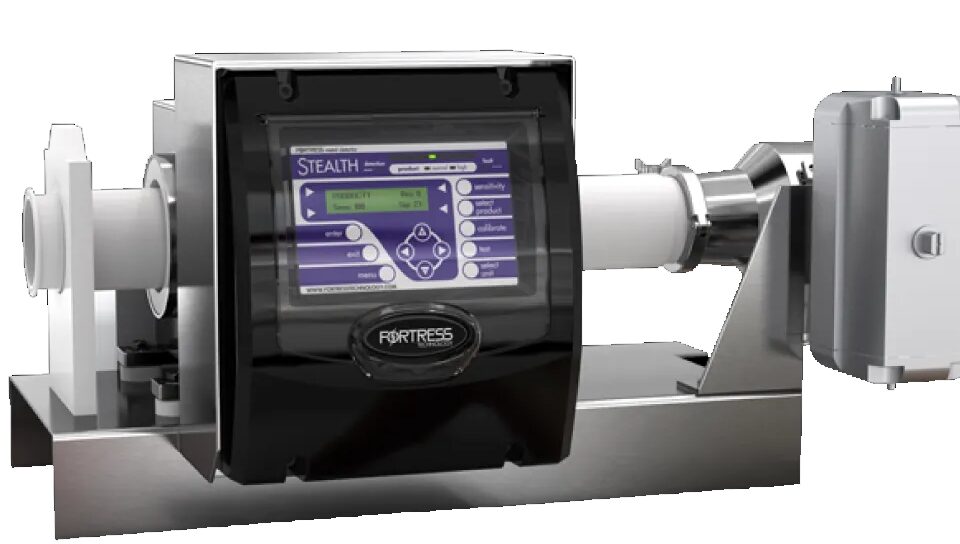
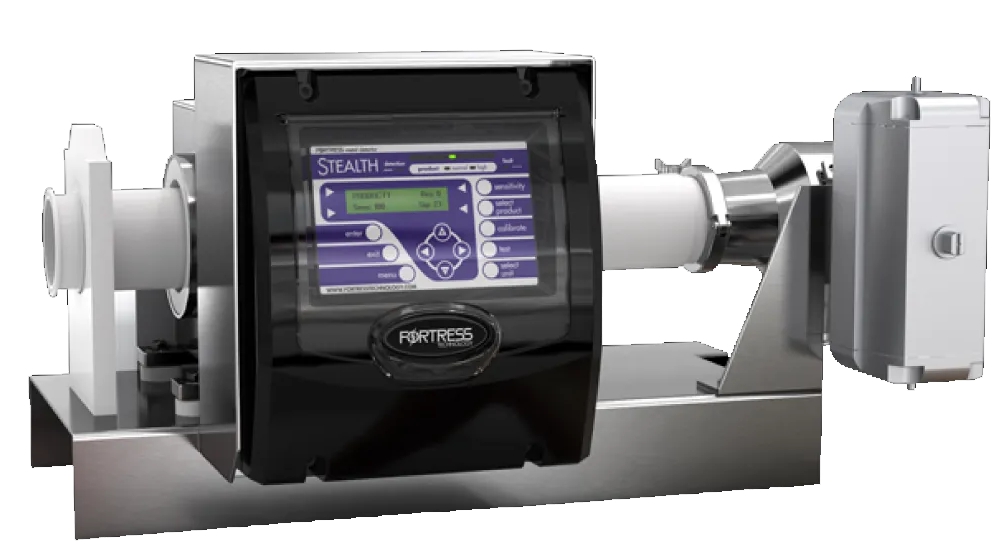
A company like Regal Packaging Services, (representing Fortress Technologies) with 20+ years of business and several decades of knowledge within its team is the best place to get a production line set up properly and all your questions answered.
http://www.regalpack.com/wp-content/uploads/2015/04/Manuals/TestingMetalDetectors.pdf
See http://www.regalpack.com/metal-detection-basics/
See also: https://www.ifsqn.com/forum/index.php/forum/138-metal-detection-x-ray-inspection-sieving/


